|
|
|
page 17 How To: Forge a Ball
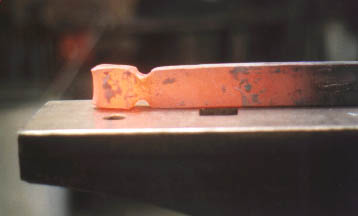 |
The exercise is to forge a ball that is 1-1/2" in diameter on the end of a flat bar that is 1" x 1/2".Fuller the bar about 1-1/2" back from the end. |
 |
Fold over about 1-1/2", forge weld or electric weld, but make it solid in either case |
 |
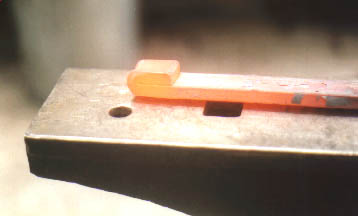
Facet the edges of your folded piece by hammering on the anvil. Try to center the mass left & right, front & back. |
 |
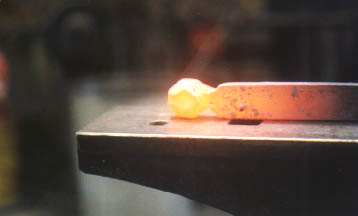
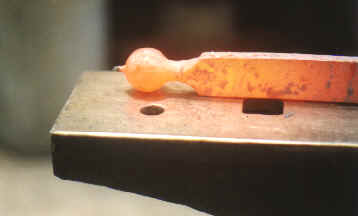
Start forging the ball using your
newly made You may need to upset the tit back into the ball to gain enough material to fill the hollows that you can clearly see in this picture. |
 |
You could even add a spot of electric weld to fill the hollows then re-forge in the spring tool. Be careful that your filler material is not significantly harder than the base material. With a little practice you will have enough base material to start with and the voids won't be a problem. |
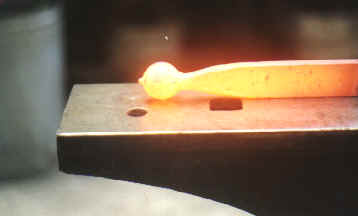 |
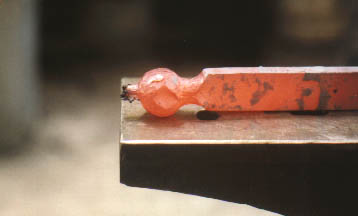
Forge down the shoulders to make a pleasant, smooth transition and there you have it. |
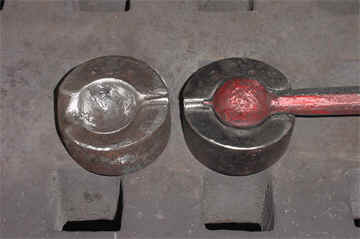 |
The handle (spring) on my 1-1/2" ball swage tool broke for the third or fourth time. So I thought that it would be a good time to dress it some and take pictures as I make the new spring. Here I tinted the ball red so that you could see the relationship of the ball and the tool. |
 |
Each half of the tool is 3" x 1" mild steel. |
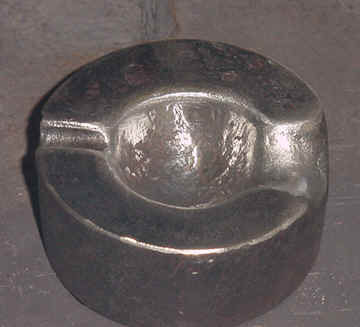 |
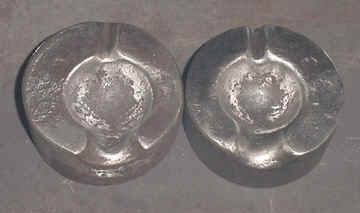
Here you can see how the edges are all very rounded to keep the tool from cutting into the ball shape. |
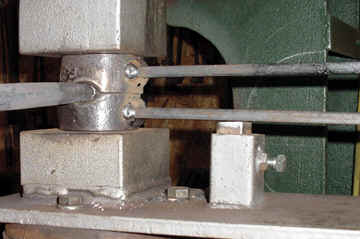 |
The tool mounted in the air hammer ready to start forging. |